Project Settings හදලා Export කරමු
Project Settings
Project settings ගැන පොඩ්ඩක් කතා කරමු.
Project → Project Settings වලට යන්න.
-cc567e57dc0ad67f2ffbe6a99d569b0c.png)
General tab එකේ, Configs යටතේ, අපිට පුලුවන් project name එක, description එක, icons, වගේ දේවල් වෙනස් කරන්න.
-ec77f3e2cea68c055921a96befabc956.png)
Display → Window යටතේ, screen size එක, mode එක වගේ display options වෙනස් කරන්න පුලුවන්.
-f14494a4f0ddd2fdb6da47fe8d061381.png)
Mode එක Fullscreen වලට වෙනස් කරන්න. ඊළගට window එක close කරන්න.
-c372c63bc1788fb537e464f5e7e5f807.png)
Export
ඔයාගෙ game එක export කරන්න වෙලාව හරි.
ඔයා export කරන්නෙ මුල්ම වතාවට නිසා, Export Templates download කරන්නත් වෙයි.
මුලින්ම අපි templates download කරමු.
Editor → Manage Export Templates වලට යන්න.
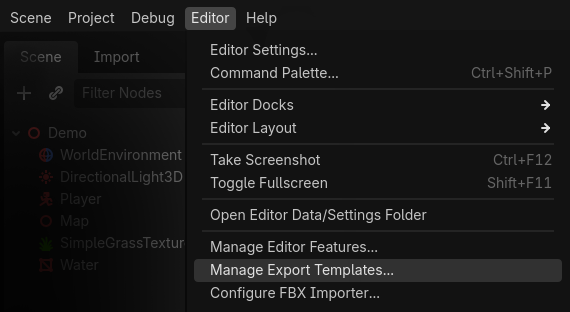
ඔයාට පෙනේවි මේ වගේ message එකක්:
“Export templates are missing. Download them or install from a file.”
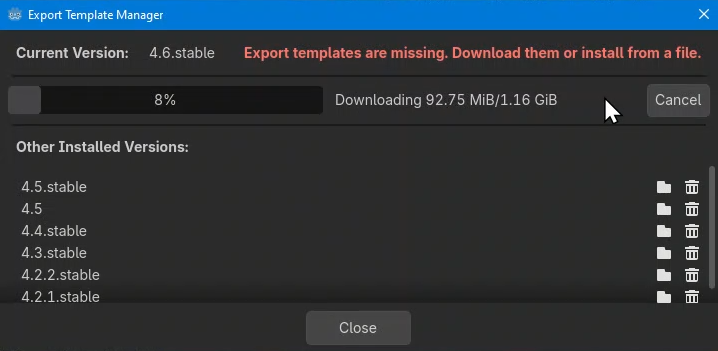
Download and Install click කරන්න. ඒක තමයි ලේසිම ක්රමය, මොකද අදාල version එක automatically download වෙනවා.
මේ වැඩේට active internet connection එකකුයි data ටිකකුයි ඕන. මොකද මේ template ආසන්නව 1 GB වගේ වෙනවා. Downlaod වෙලා installation එක ඉවර වුනාට පස්සෙ, window එක close කරන්න.
එක පාරයි template download කරන්න ඕන. හැම project එකටම ආයෙ ආයෙ මේක කරන්න ඕන නෑ. අලුත් godot version එකකට මාරු වුණොත් තමයි ආයෙත් template download කරන්න ඕන.
දැන් තමයි හරියටම export කරන steps ටික පටන්ගන්නෙ.
Project → Export වලට යන්න.
-a11f18d5de4b48aae974fb5517389243.png)
මුලින්ම, Export Preset එකක් add කරන්න. මම තෝරනවා Windows Desktop.
-c7eb625b268487cee2db253887b641c5.png)
Embed PCK කියන box එකට tick එකක් දාලා, Export Project click කරන්න.
-46c5e2a21af9d00d8332ac71ff5dad66.png)
ඊළගට save කරන්න ඕන තැන දෙන්න ඕන. මම builds කියලා folder එකක් හදලා ඒක select කරා.
Export with Debug tick එක අයින් කරන්න, ඊළගට Save click කරන්න.
-70fb7e6364c87c80b46d0246c8a40897.png)
දැන් ඔයාට ඔයාගෙ game එක .exe file එකක් විදියට තියෙනවා.
ඔයාගෙ යාලුවොන්ට දෙන්න try කරලා බලන්න. Tutorial එක නම් මෙතනින් ඉවරයි...
-26bc66bc1a70f98af60d99418db6223a.png)
තව කියන්න දේවල් ටිකක් තියෙනවා, ඒ ටික ඊළග පිටුවෙන් කියන්නම්.
දැනට, Congratulations & enjoy your game 🎉